Crafting in AION 2
Updated 2026-10-09 · checked against Global launch (client 2.0.5.0)
AION 2 has five crafting professions:
| Profession | Makes | Most useful to |
|---|---|---|
| Blacksmithing | Swords, greatswords, daggers, maces, guards | Templar, Gladiator, Assassin, Cleric |
| Handicrafting | Bows, staves, rings, earrings, necklaces, bracelets | Ranger, Chanter — and every class, for jewellery |
| Alchemy | Spellbooks, orbs, manastones and soulstones, potions, scrolls | Sorcerer, Spiritmaster — and every class, for stones |
| Armorsmithing | Every armour slot and capes | Every class |
| Cooking | Food and drink | Every class, before a hard run |
All five are open to the same character — they sit side by side as tabs in one crafting window — so the question is which to level first, not which to give up.
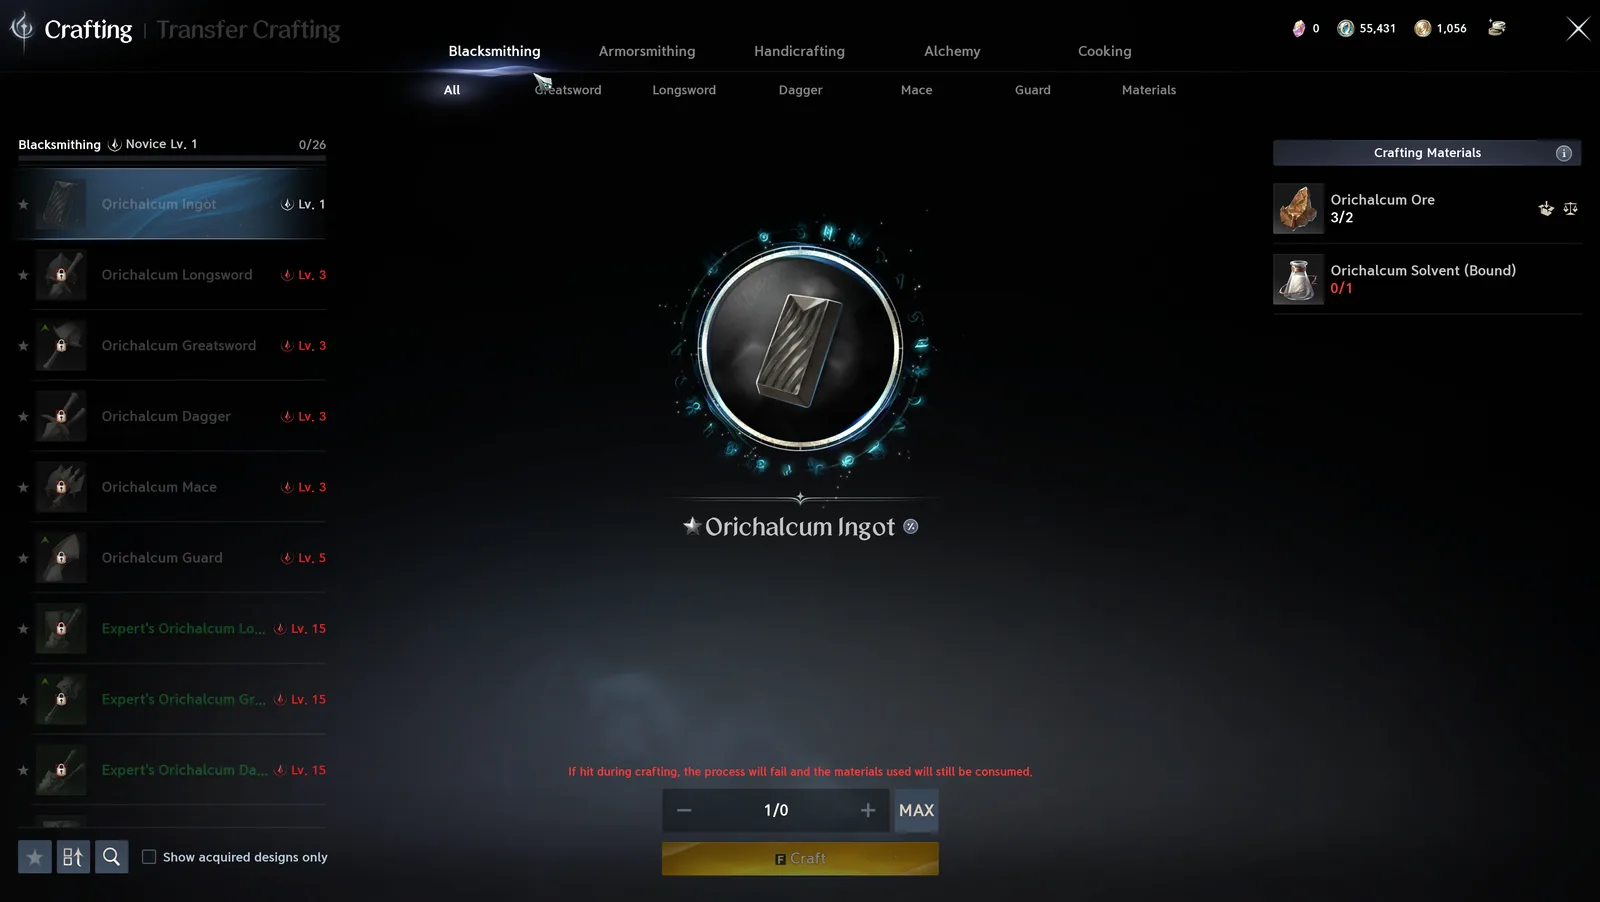
The window lists every design for the profession with the level it unlocks at, and a filter for the designs you have acquired. Each profession has its own level (Novice 1 to start). A Transfer Crafting tab sits next to Crafting; that is the transfer step on the gear ladder below. Crafting is F, and it can be interrupted: if you are hit while crafting, the craft fails and the materials are still used up, so craft somewhere safe.
Gathering
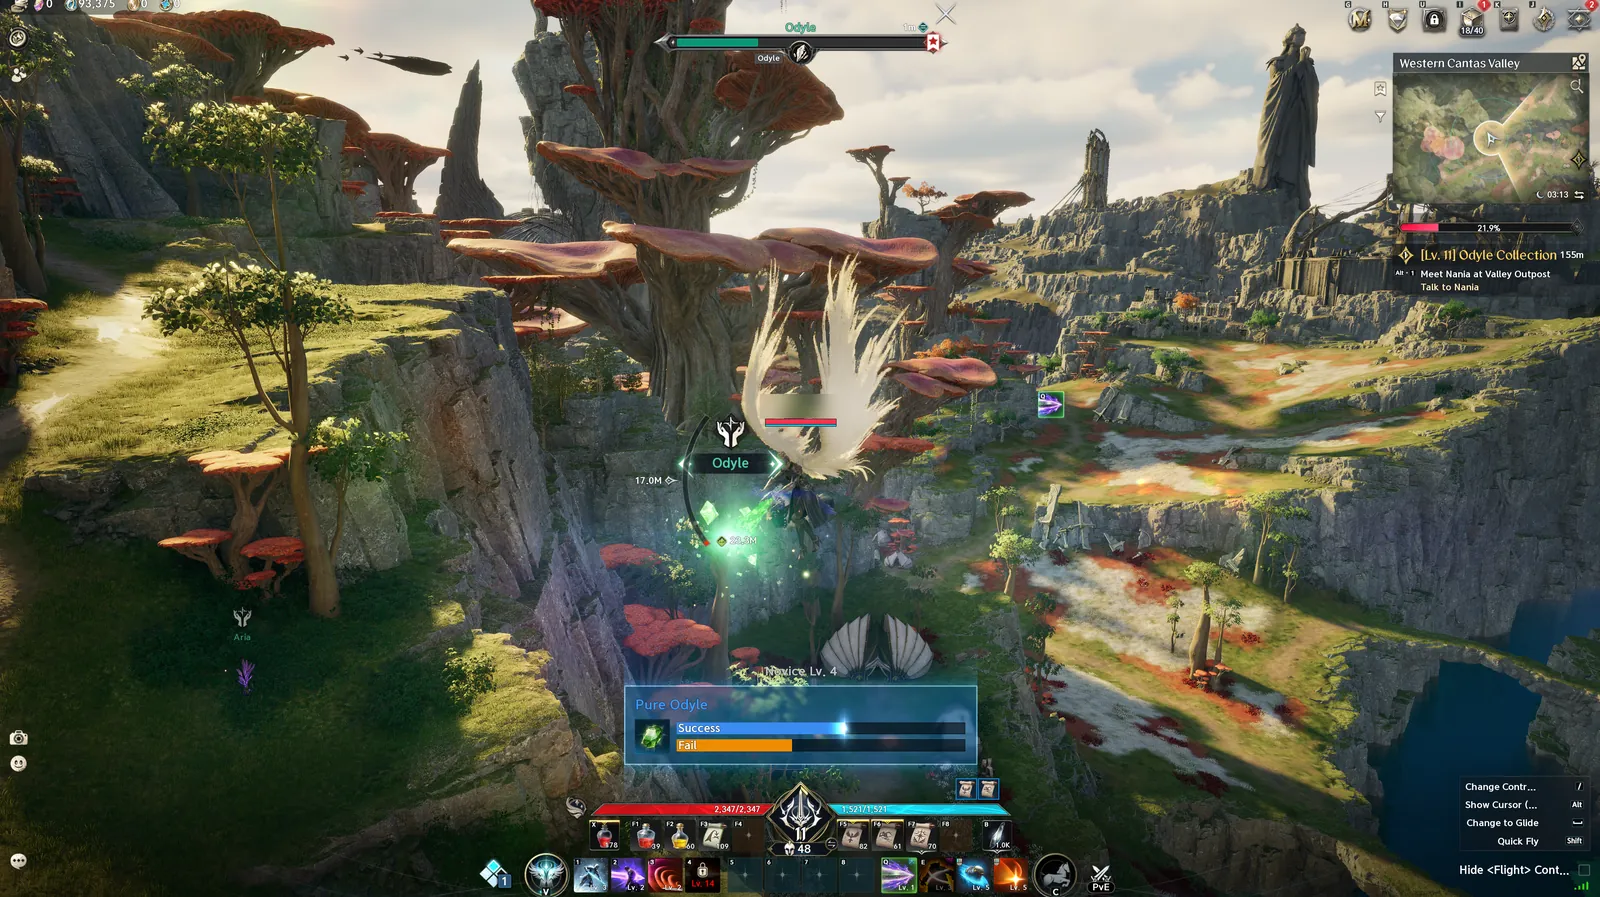
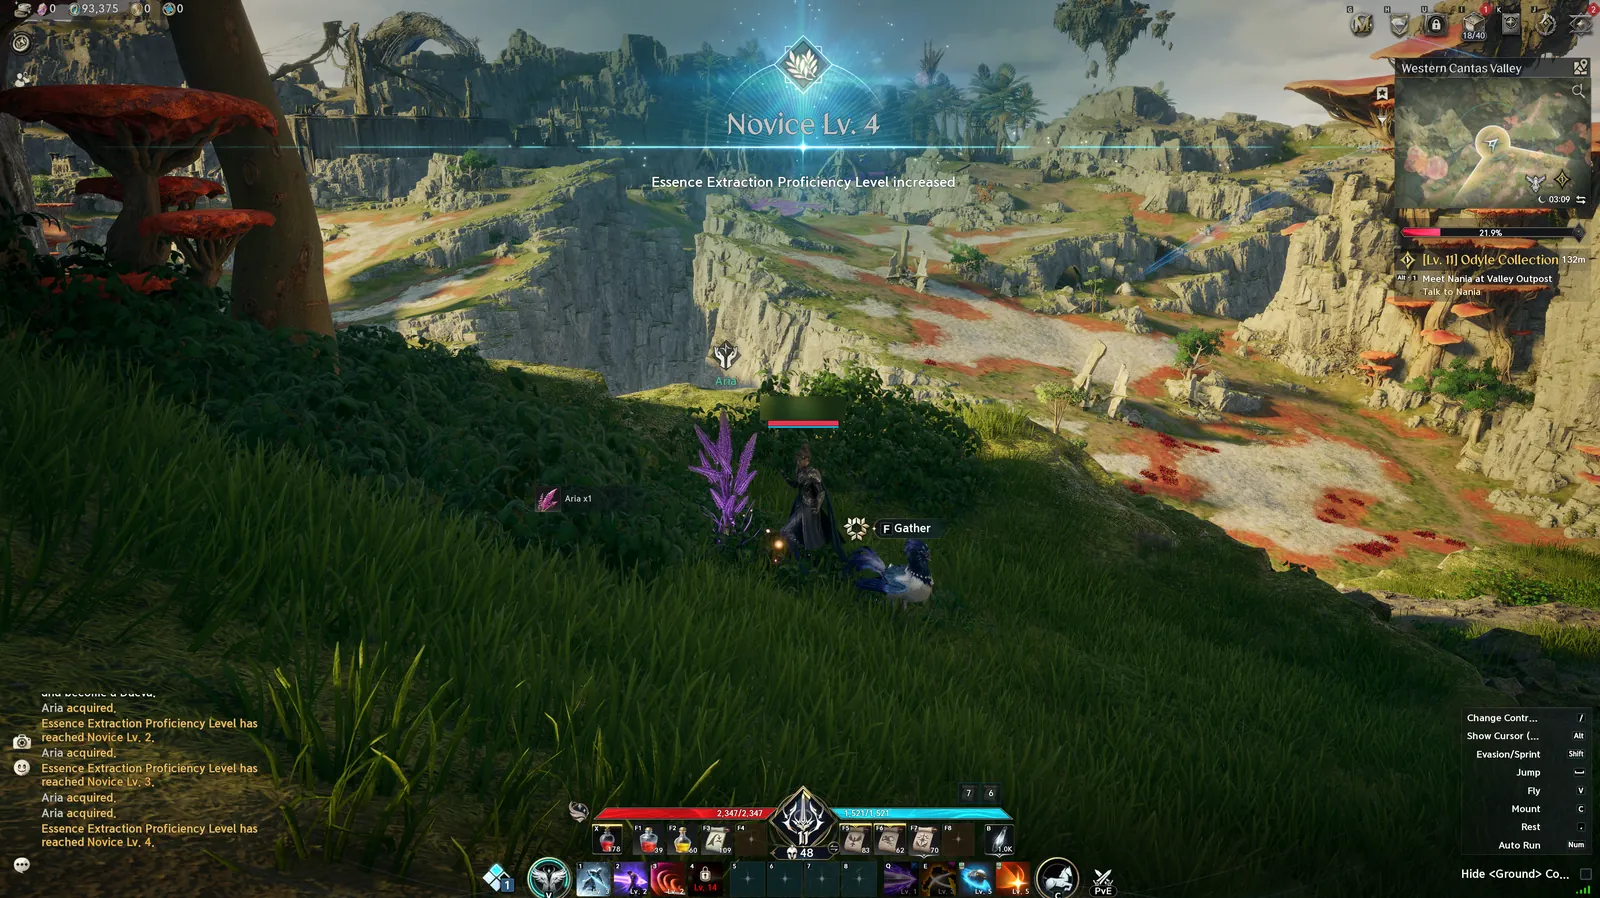
Materials come from nodes in the field: plants like Aria on the ground, and Odyle — the material sixty recipes use — hanging in the air, where you gather it in flight. On the ground it is F at the node. In the air a Success / Fail bar runs while you gather — the first shot below is a Pure Odyle pull in progress. Where every node is, zone by zone and area by area, is in the gathering guide.
Essence Extraction
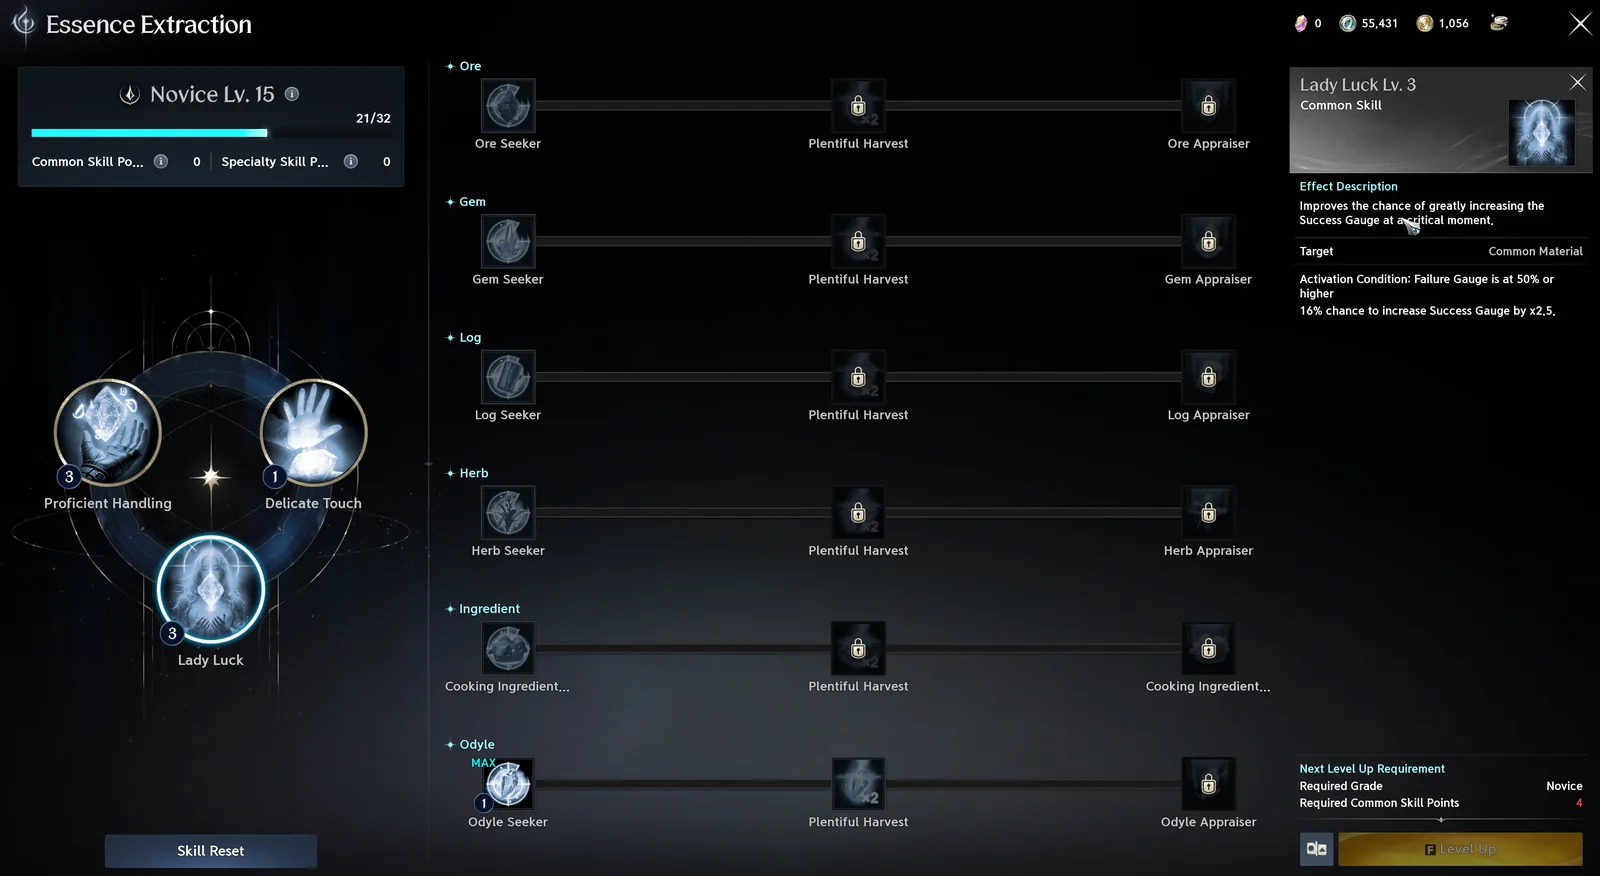
All gathering feeds one skill, Essence Extraction, with its own level (Novice to start, like the crafts). It covers six kinds of node — Ore, Gem, Log, Herb, Ingredient (for cooking) and Odyle — and levelling it earns two kinds of point:
- Common skill points go into a wheel of three skills that apply to every gather: Proficient Handling, Delicate Touch and Lady Luck. Lady Luck, for example, gives a chance to multiply the Success gauge once the Failure gauge is half full. These points reset whenever you like, with the Skill Reset button under the wheel.
- Specialty skill points go into a row per node type: a Seeker skill, then Plentiful Harvest (marked ×2 in the window), then an Appraiser skill at the end of the row.
So the common wheel is free to experiment with, and the specialty rows are where you decide which materials you gather best.
Substance Morph
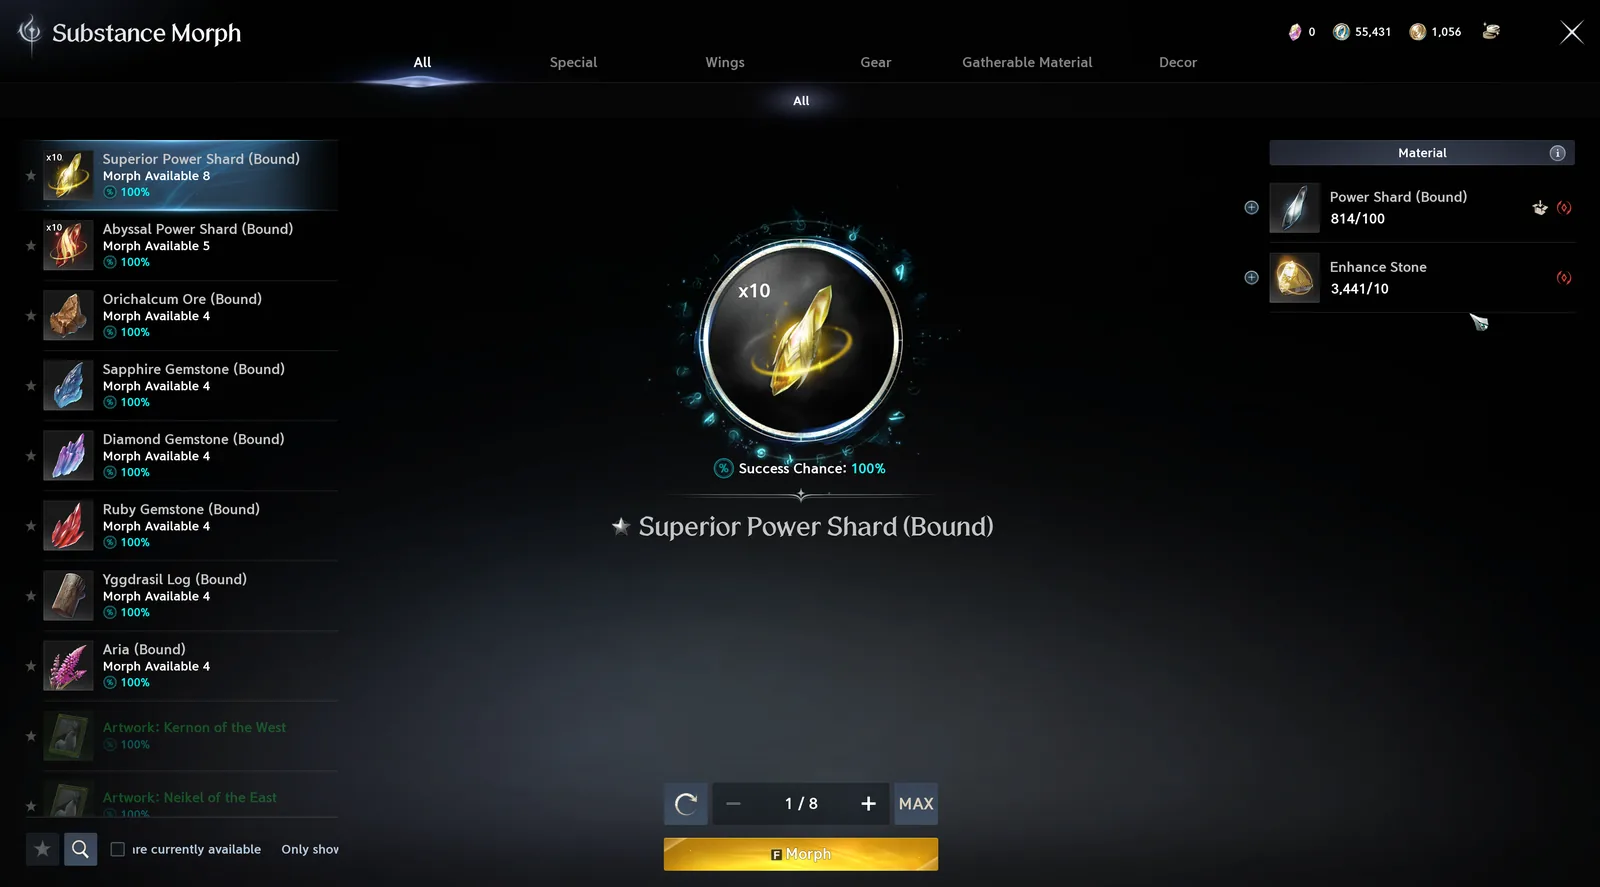
Substance Morph is a separate window that turns materials you have too many of into something else. Recipes are grouped as Special, Wings, Gear, Gatherable Material and Decor, each shows how many times you can make it right now, and the ones we have seen run at 100% success — for example 100 Power Shards and 10 Enhance Stones into 10 Superior Power Shards. Bound gathering materials (Orichalcum Ore, gemstones, Yggdrasil Log, Aria) and decor artwork are on the list too. Every Substance Morph recipe →
Proficiency
Each profession levels through two tiers of proficiency: Novice, then Professional, each running from level 1 to 50. Recipes are gated at a level within a tier, and the profession’s own tool — a hammer, fabric, magnifying glass, scale or seasoning — marks the step from one tier to the next.
The important detail is what proficiency does not gate. The gear trades all use the same three-step ladder for their best equipment:
- a direct craft at the True and Star Dragon Lord tiers, gated at Professional proficiency;
- transfers to the White/Dark and Wise/Ebony tiers, which consume the Artisan’s Splendent piece from the tier below and need no proficiency;
- a Splendent upgrade of the piece, paid in materials, also ungated.
So proficiency is the price of the first rung only. After that, top-tier gear is a materials problem — Balaur’s Essence, refined Balaur horn, leather and scale, and the Wrathful materials — not a skill problem. With one catch: every Dragon Lord recipe takes an Artisan’s Splendent piece, and no recipe makes those — they only come from a combo when an Artisan’s craft succeeds. The proficiency guide covers the ranks, the level 50 wall and that combo chain.
Success, combos and tools
Every craft is a roll. A recipe’s success chance starts around 68–74% at its own level and climbs to 91–99% as your proficiency passes it, and 296 recipes have a combo: a 20–30% chance that a success makes something better — the Splendent version of a piece, or double the food. Each recipe page shows both, plus every raw material from scratch.
- Crafting calculator — success chance, attempts, materials and combos for any recipe at your proficiency.
- Proficiency and ranks — Novice and Professional, the rank-up items and the Splendent chain.
- Gathering — every material by zone, and Odyle.
- Refining Stones — where all four tiers drop, with the expected count from every boss and dungeon.
- Dropped and bought materials — Wrathful Mind, Will and Ego, Balaur’s Essence, and every other material you cannot gather.
- Substance Morph — all 230 conversions.
- Manastones and Theostones — what every stone can roll.
- Pantheon decor — every artwork and statue, with a checklist.
Faction differences
The Elyos and Asmodian versions of a recipe are not always the same recipe. About half of the paired recipes differ in name, output or materials between the two sides, so every recipe list here tags its faction and filters by it.
Every material
Every item a recipe consumes and no recipe makes has its own page: where it is gathered, and every recipe that uses it. Crafted items — including the intermediate ingots, leathers and powders — are linked from each profession’s recipe list.
Gathered (46)
- Aria
- Asvata Log
- Azpha
- Calendula
- Conide
- Coriolus
- Cypri
- Diamond Gemstone
- Fine Asvata Log
- Fine Diamond Gemstone
- Fine Odyle
- Fine Orichalcum Ore
- Fine Ruby Gemstone
- Fine Sapphire Gemstone
- Fine Yggdrasil Log
- Fresh Aria
- Fresh Azpha
- Fresh Calendula
- Fresh Targena
- Inina
- Kukuru
- Mela
- Morfa
- Odyle
- Ohkra
- Orichalcum Ore
- Pujery
- Pure Asvata Log
- Pure Diamond Gemstone
- Pure Odyle
- Pure Orichalcum Ore
- Pure Ruby Gemstone
- Pure Sapphire Gemstone
- Pure Yggdrasil Log
- Radiant Asvata Log
- Radiant Diamond Gemstone
- Radiant Odyle
- Radiant Orichalcum Ore
- Radiant Ruby Gemstone
- Radiant Sapphire Gemstone
- Radiant Yggdrasil Log
- Raydam
- Ruby Gemstone
- Sapphire Gemstone
- Targena
- Yggdrasil Log
Dropped, bought or rewarded (50)
- Abex Butter (Bound)
- Abrasive (Bound)
- Altgard Pepper (Bound)
- Artisan's Refining Stone
- Artisan's Ultimate Refining Stone
- Balaur's Essence
- Benediction Scroll (Bound)
- Catalyst (Bound)
- Cheese (Bound)
- Courage Scroll (Bound)
- Curry Powder (Bound)
- Exceptional Ink (Bound)
- Expert's Refining Stone
- Fresh Fruit
- Fresh Raw Meat
- Glass Bottle (Bound)
- Healing Potion (Bound)
- Intermediate Dragon Leather Softener (Bound)
- Intermediate Dragon Scale Hardener (Bound)
- Lazuli Hammer (Bound)
- Lesser Abyssal Manastone
- Lesser Abyssal Soulstone
- Lesser Dragon Leather Softener (Bound)
- Lesser Dragon Scale Hardener (Bound)
- Lesser Manastone
- Lesser Soulstone
- Life Potion (Bound)
- Moonstone Hammer (Bound)
- Orichalcum Solvent (Bound)
- Professional Glass Bottle (Bound)
- Professional Ink (Bound)
- Raw Leather
- Raw Triora Noodles (Bound)
- Refining Stone
- Salt (Bound)
- Sandpaper (Bound)
- Soft Balaur Meat
- Soy Sauce (Bound)
- Speed Scroll (Bound)
- Spiritstone
- Sugar (Bound)
- Superior Dragon Leather Softener (Bound)
- Superior Dragon Scale Hardener (Bound)
- Sweet Balaur Berry
- Ulmus Oil (Bound)
- Verteron Pepper (Bound)
- Wrathful Ego
- Wrathful Mind
- Wrathful Will
- Zircon Hammer (Bound)
Our read
Pick by the class you play for the weapon trade, and add Alchemy if nobody in your legion has it. Manastones and soulstones go into every piece of gear on every character, so the alchemist is the crafter a group runs out of first.